In this article
A favorite floral offcut can be too small for a bag and still be exactly right for something you will use every day. The trick is to choose a project that fits the fabric you already have, rather than cutting every leftover into tiny pieces and hoping a plan appears.
These seven fabric scrap projects range from flat bookmarks to small home accessories. Start with the first two if you are still getting comfortable with your machine. Save the shaped projects for when turning corners, joining panels, and following a construction sequence feel more familiar.
Not sure where to begin? Choose a bookmark for long strips, a coaster for small squares, or a gift bag for two larger matching remnants. You do not need an elaborate collection of prints to make any of them look intentional.
Choose the right scraps before you choose a project
Spread out a small selection and look at usable area, not just overall size. A frayed edge, an old stitch line, or a worn patch can leave less sound fabric than you expect. Put stretchy knits in a separate group from woven cotton so you are not learning two different fabric behaviors in the same first project.
For an easier starting point, look for stable, medium-weight cotton. SINGER’s fabric guidance recommends this type of fabric for beginners and advises following the fabric’s care requirements before sewing. If your remnants have different washing histories, check their care information rather than assuming they will behave identically.
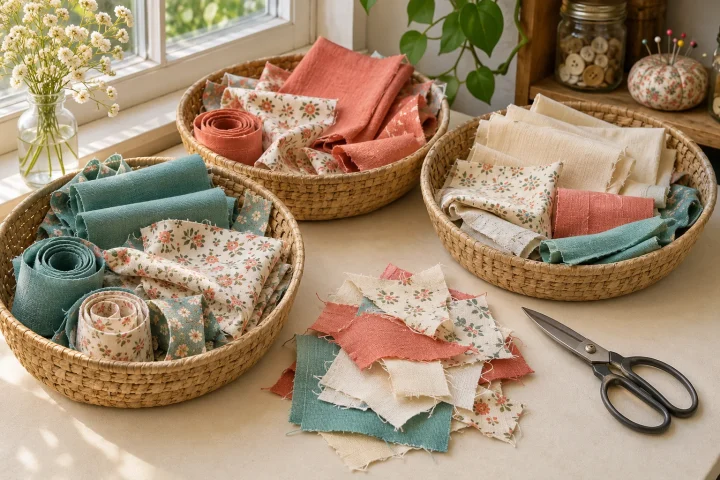
Group compatible pieces by weight, then choose a simple palette. A coral floral, a muted teal solid, and a quiet cream print give you contrast without demanding a perfect match. This is a design suggestion, not a rule: a favorite combination of blues or warm neutrals works just as well.
If finding suitable pieces takes longer than choosing the project, use our guide to organizing fabric scraps for sewing and quilting. Keeping useful strips and larger remnants easy to find makes this next step much simpler.
Two flat projects that make an easy starting point
1. Fabric bookmarks for long, narrow scraps
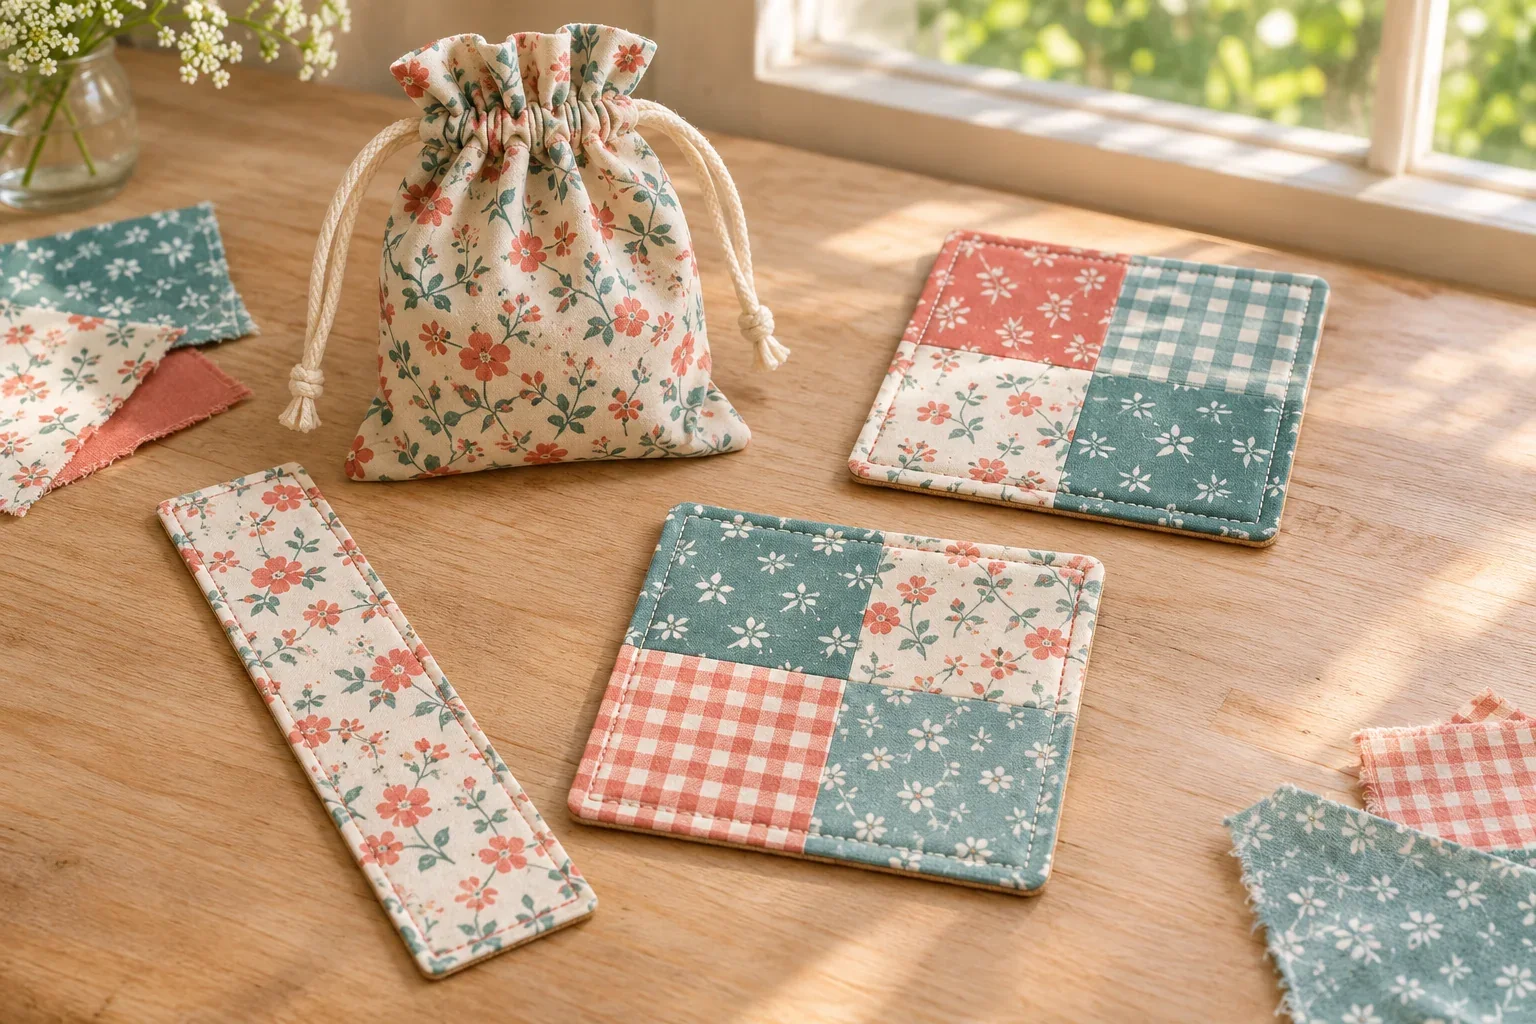
A flat bookmark gives an attractive strip of fabric a purpose without requiring a zipper, elastic, or a fitted shape. It is a sensible first choice when your leftovers are long and narrow rather than square.
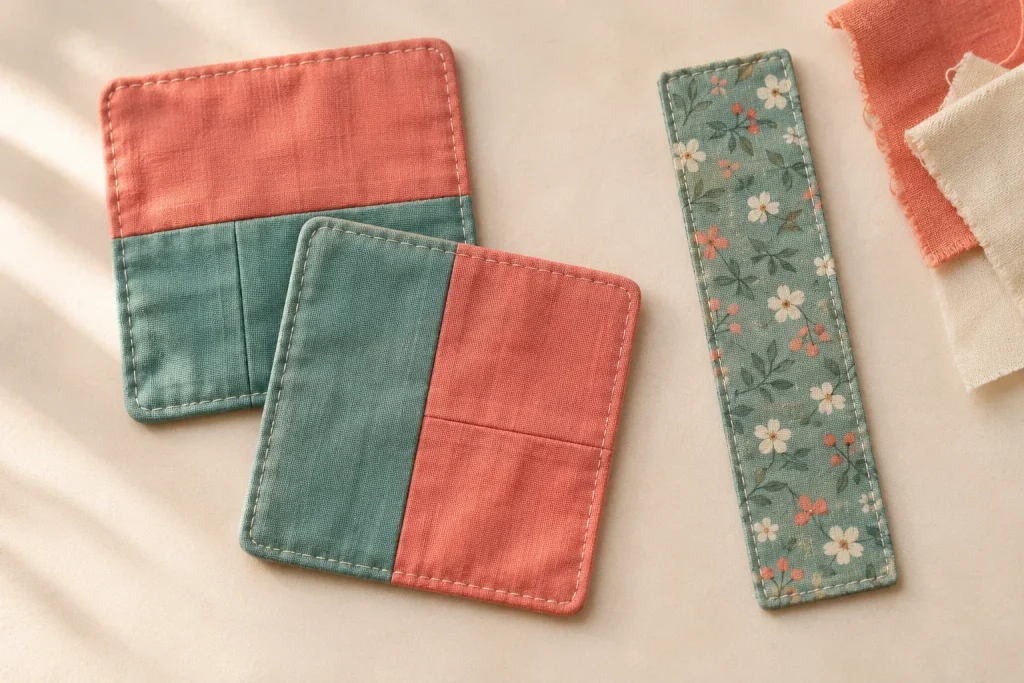
Let one fabric do most of the visual work. A small floral or a narrow piece cut from a favorite print often looks better here than several competing patchwork seams. For the reverse, choose a compatible scrap that feels smooth between book pages.
Make it useful: aim for a flexible, low-bulk result. A thick padded bookmark may look impressive on a table but feel awkward inside a paperback. Use your chosen construction method to decide whether any extra support is needed, and test the fabric layers together before committing your best remnant.
This project also gives you a clear practice goal: keeping an even line of topstitching around a simple shape. Make one you like before deciding to sew a whole gift set.
2. Patchwork coasters for small squares and short strips
Coasters are a natural home for pieces that are too short for a bookmark. A simple block made from two contrasting fabrics can be enough; you do not need a miniature quilt with a complicated arrangement.
Try pairing one lively print with a quieter companion. Repeat one of those fabrics across a small set to make the pieces feel related even when the patchwork differs. The useful design lesson is repetition, not exact matching.
Choose a coaster construction suited to its intended use, including the backing and any batting it requires. BERNINA’s WeAllSew patchwork coaster project shows how scraps can become a finished layered coaster. A coaster for a drinking glass should not be assumed to provide the protection of an oven mitt or a hot pad.
Two small makes for gifts and your sewing space
3. A simple pincushion for favorite little pieces
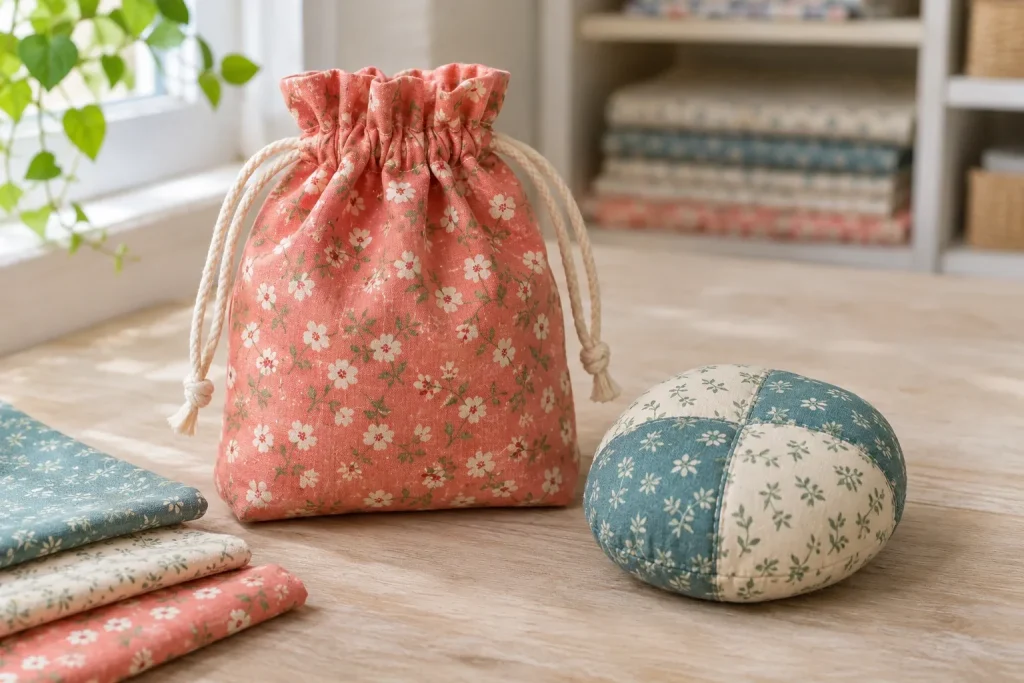
A pincushion lets a small piece of treasured fabric stay in view instead of disappearing into the bottom of a bin. For a first version, choose a straightforward shape from a construction guide you can follow comfortably.
One feature fabric with a plain reverse is easier to manage than many tiny patches. If you do want patchwork, start with a few larger sections so the print has room to show. Keep decorative details secondary to a securely closed finish.
Think about where the pincushion will live. A design that stays put beside your machine may be more useful than an elaborate shape that needs constant repositioning. Follow the chosen project’s filling and finishing guidance; the goal is a dependable sewing accessory, not simply an attractive stuffed shape.
4. Reusable drawstring gift bags for larger rectangles
A small drawstring bag works well when you have two sound remnants with enough room for the bag body and its upper casing. That casing is the channel that carries the cord, so plan for it before deciding how much fabric is available.
Choose the gift or storage use first. A bag for a small boxed present needs a different shape from one intended for ribbon or sewing notions. Work from a suitable construction guide rather than trying to guess every allowance from the finished object.
For a calm look, let a floral exterior provide the detail and use a plain coordinating cord. Skip extra pockets and trim on the first version. The valuable skills here are following the assembly order and finishing a working closure, so the bag feels like a useful step beyond a flat project.
Two ways to use larger remnants at home
5. Small fabric baskets for lightweight everyday items
Fabric baskets can turn larger leftovers into a place for hair accessories, sewing clips, or folded ribbons. They are a next-step project rather than the simplest option in this list: a shaped base and the fabric’s ability to hold its form both affect the result.
Decide whether you want a soft, collapsible basket or a more upright container. That choice should guide the pattern and its support materials. A thin cotton remnant does not become rigid just because the finished basket is small.
For a first attempt, avoid adding handles, dividers, and several fabric changes at once. A single exterior print and a quiet lining keep the cutting and assembly easier to follow. Choose a size for something specific so the finished basket has an immediate job.
6. Patchwork pillow covers with one simple feature panel
A pillow cover is worth considering when your scraps are really larger remnants. Instead of building the entire cover from tiny pieces, use a simple patchwork panel for the front and a compatible larger piece for the reverse.
Lay out broad blocks or strips first. Look at the arrangement from across the room: a beautiful print can disappear when it is cut too small, while a plain section gives the eye somewhere to rest.
Choose fabrics with reasonably similar weights for the feature panel. In its patchwork planning guidance, SINGER emphasizes compatible fabric weights and pressing during construction. For a pillow, also follow a cover pattern that matches your insert and preferred closure; an envelope style is an option to consider if you would rather leave zippers for another project.
Give awkward offcuts a place in fabric bunting
7. Decorative fabric bunting for a creative corner
Bunting offers a different way to use pieces that do not fit neatly into pairs. A repeated flag shape can bring several small prints together while leaving room for a relaxed, mixed appearance.
Start with where you want to display it: above a shelf, along a studio wall, or as part of seasonal decorating. A short decorative length is easier to plan than a room-spanning garland. Choose a construction method that explains the finished flag edges and how the flags attach to their supporting tape.
Repeat a color at intervals to keep the arrangement from feeling random. You might alternate small florals with quieter solids, or group several shades of one color. Paper shapes are useful for trying the sequence before cutting fabric.
This is also a good place to accept that not every offcut belongs in the same project. Leave out pieces that make the arrangement feel crowded. Using fewer fabrics thoughtfully can produce a more satisfying result than forcing in every scrap you own.
Pick one project and make the first version simple
The most useful scrap project is the one that suits both your fabric and your next practice goal. If the scraps are tiny, choose a modest patchwork coaster or pincushion. If you have long strips, begin with a bookmark. If you have larger remnants, consider the gift bag before moving on to shaped baskets or pillow covers.
Before cutting, make four decisions:
- Use: decide who will use the finished item and where it will live.
- Fabric: check that the pieces are sound and compatible with the chosen construction.
- Method: read the entire project guide, including its supplies, finishing steps, and care advice.
- Practice: test any unfamiliar stitching or layer combination on an expendable offcut.
Avoid making a large batch before trying one complete item. Finishing a single bookmark or coaster reveals whether you like its thickness, proportions, and fabric combination. You can refine the next version with much less frustration than changing a whole unfinished pile.
Choose one useful object, pull a small coordinated group of scraps, and give yourself permission to keep the design simple. A well-chosen remnant deserves a practical second life, even when that second life is something as small as the bookmark in your current read.
Images are AI-generated illustrations of project ideas. Use an appropriate construction guide for measurements and assembly.