In this article
A beautiful scrap basket is nice. A basket that helps you start your next project is better. If every leftover strip, shirt offcut, and tiny floral square lands in the same pile, even lovely fabric can become difficult to use.
You do not need a wall of matching bins or an afternoon spent cutting everything into identical squares. Start by separating materials that behave differently, then organize the useful pieces around the projects you actually enjoy. This beginner-friendly approach works whether you sew at a kitchen table or have a dedicated craft room.
1. Decide what your scrap collection is for
Before sorting by color, think about what you want to make. A beginner interested in patchwork needs a different collection than someone who repairs jeans or adds fabric details to handmade cards.
Choose one or two realistic uses for now. You might save woven cotton for small patchwork projects, sturdy offcuts for visible mending, or favorite prints for simple appliqué. These are project directions, not instructions to start cutting immediately. Follow the requirements of the project you eventually choose.
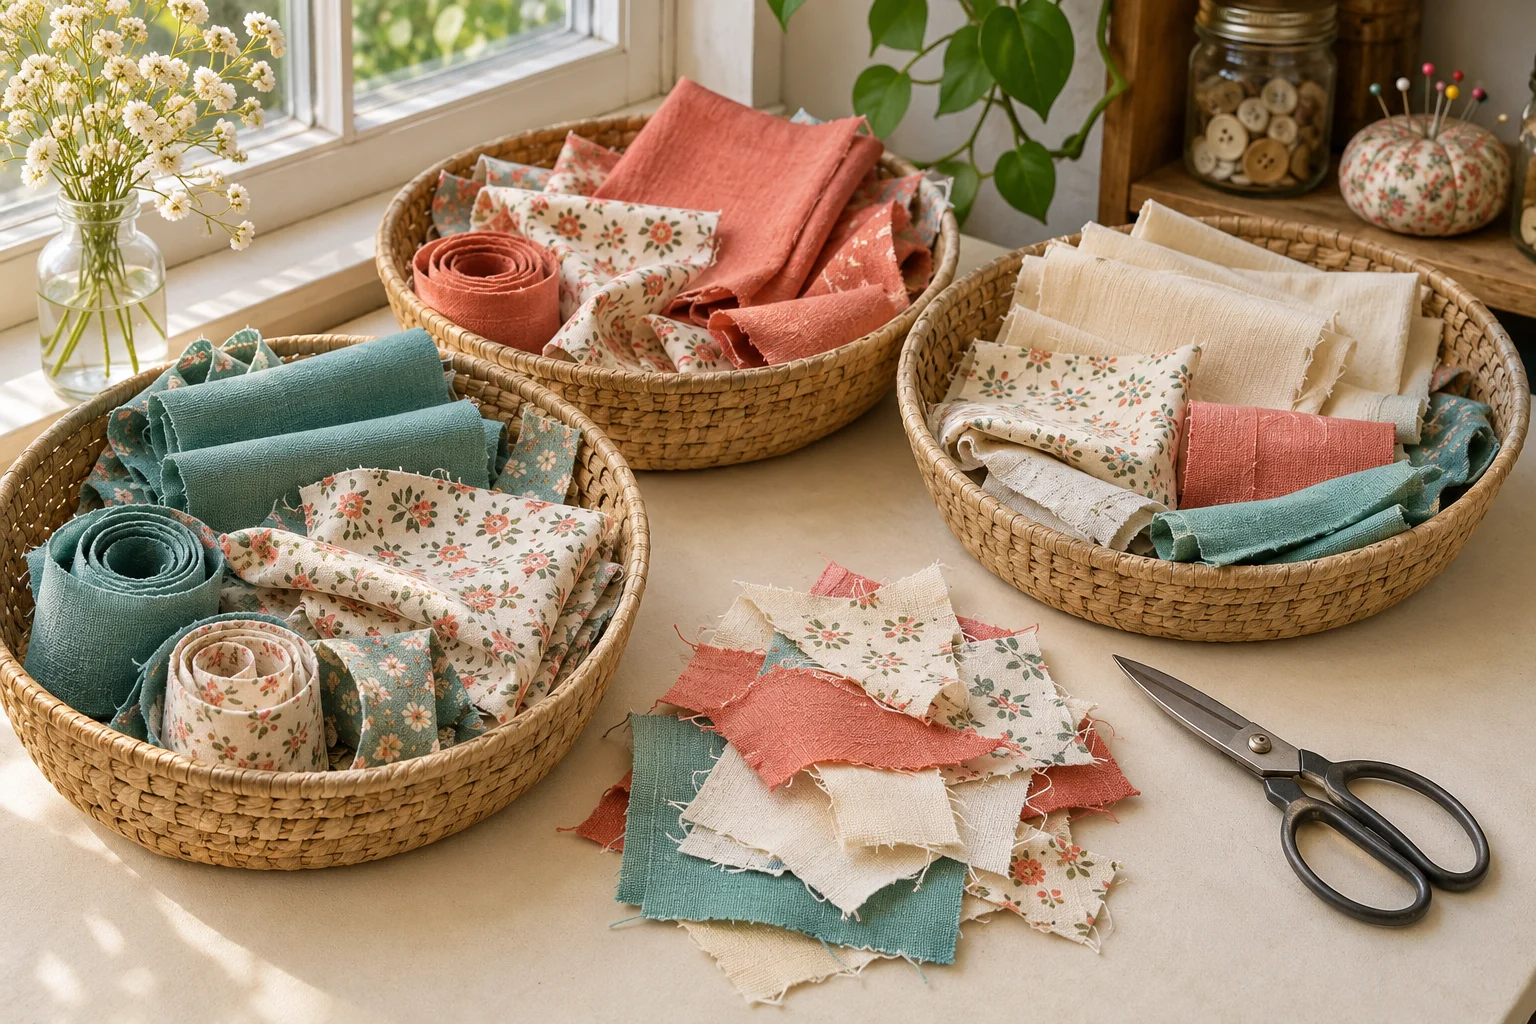
Set out a few containers you already own: a shallow box, a drawer divider, or a basket. Give yourself one temporary holding area for unsorted pieces. When that space fills, sort it before adding another container. The goal is an accessible collection, not a system that keeps expanding.
If you are not sure what you like making yet, keep a modest selection of larger pieces in fabrics you enjoy handling. They leave you more choices than a large collection of tiny trimmings.
2. Separate fabrics that behave differently
Color is easy to notice, but fabric structure matters first. The National Cotton Council explains that woven fabric is made by interlacing yarns, while knitted fabric is formed from interlocking loops. Cotton can be either woven or knitted, so “cotton” alone is not a sorting category.
Begin with three broad groups:
- Lightweight woven fabrics: quilting cotton and similar offcuts that feel compatible with one another.
- Knits and stretchy fabrics: jersey, ribbing, and other pieces that stretch or curl at the edges.
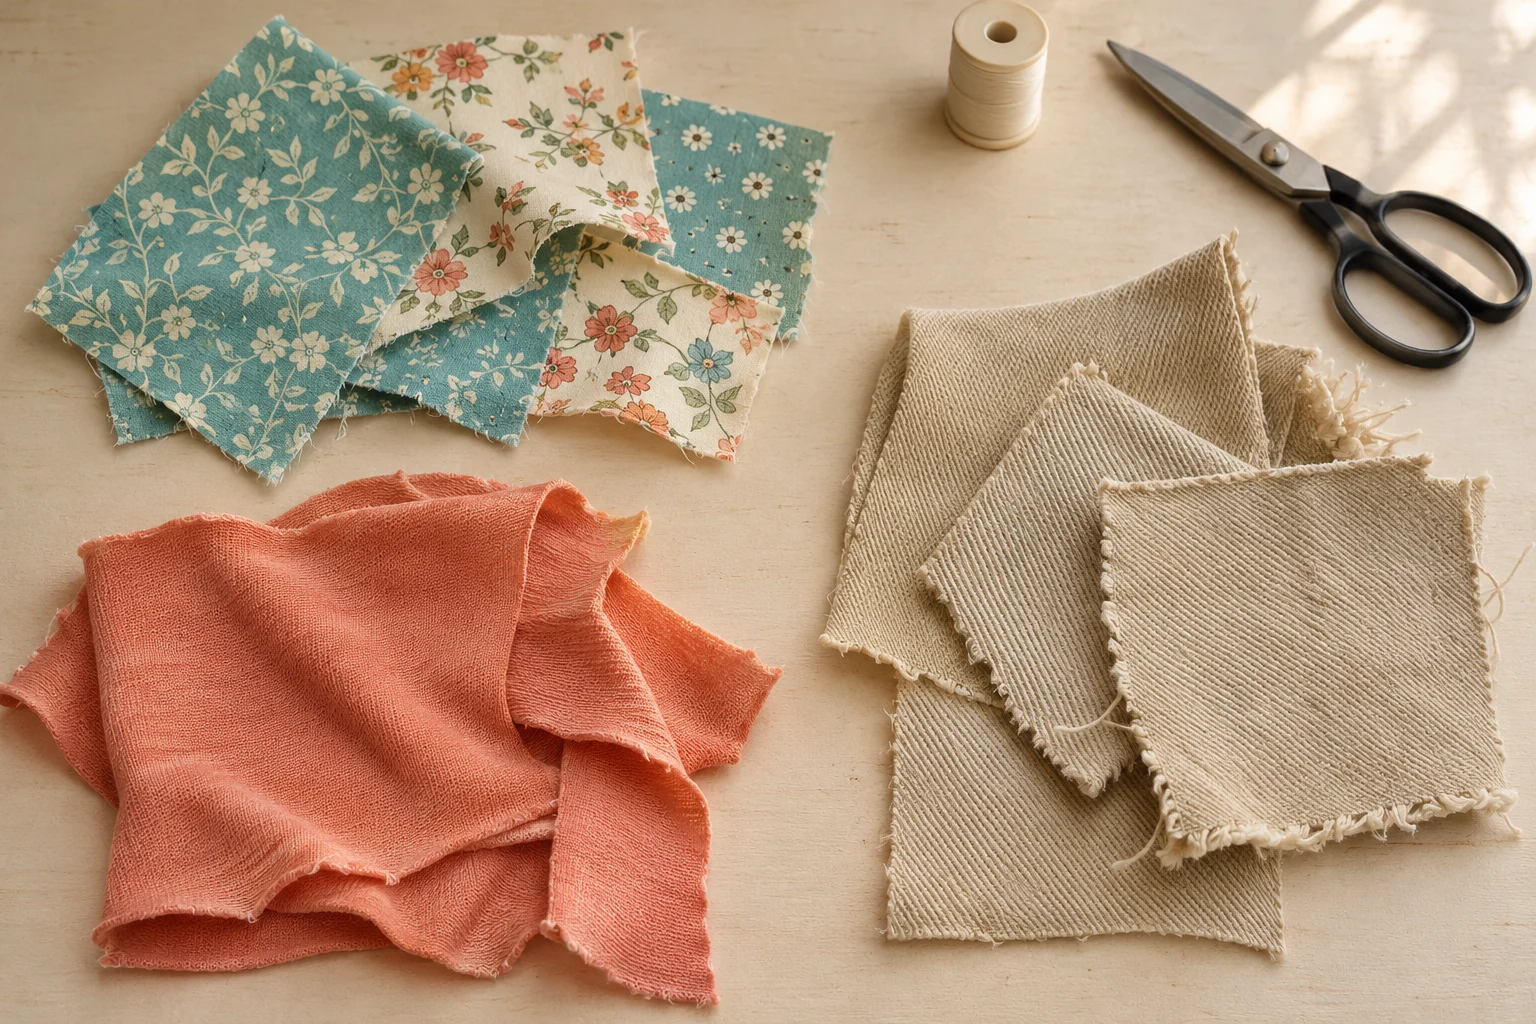
- Heavier or specialty fabrics: denim, canvas, upholstery remnants, slippery fabric, and anything that needs separate handling.
These groups are a starting point, not a rule that every fabric within a group belongs in the same project. Two woven fabrics may still differ considerably in thickness, drape, or care requirements. When you have a label or a note from the original yardage, keep that information with the scrap.
Put unidentified pieces in a small separate group rather than guessing their fiber content from appearance. Before combining unfamiliar materials, use spare offcuts to check how they press, stitch, and respond to the care you expect the finished item to need.
3. Sort by usable shape before trimming
There is no universal minimum scrap size worth keeping. A narrow strip may be useful to someone who enjoys strip piecing, while a larger irregular remnant may be more valuable for a mending patch. Keep pieces because they have a plausible use, not because another sewist saves that size.
Within each fabric group, make a few easy-to-recognize piles:
- Larger remnants: pieces with enough continuous area to offer several cutting options.
- Strips: long, narrow pieces that are easy to bundle together.
- Small pieces: offcuts you would genuinely use for patchwork, appliqué, or another small detail.
Look at the usable area rather than measuring the longest point. A remnant with a deep notch or a worn section may provide less fabric than its outer dimensions suggest. Check upcycled pieces for thin spots, stains, old needle holes, and seams that limit the space available.
Avoid cutting every irregular scrap into a square just to make the pile look tidy. You can always cut a smaller shape later; you cannot restore fabric removed today. Trim for a specific project when you know its dimensions and seam allowances.
Keep grain in mind, too. The Sewing & Craft Alliance’s fabric-preparation guidance explains why grain alignment matters. A cut edge is not automatically a reliable grain reference. If grain direction affects the project, identify it before cutting rather than assuming a scrap’s longest edge is straight grain.
4. Build a small project bundle
Once the basic sorting is done, pull out enough fabric for one manageable next project. A project bundle turns “someday” scraps into a decision you can act on.
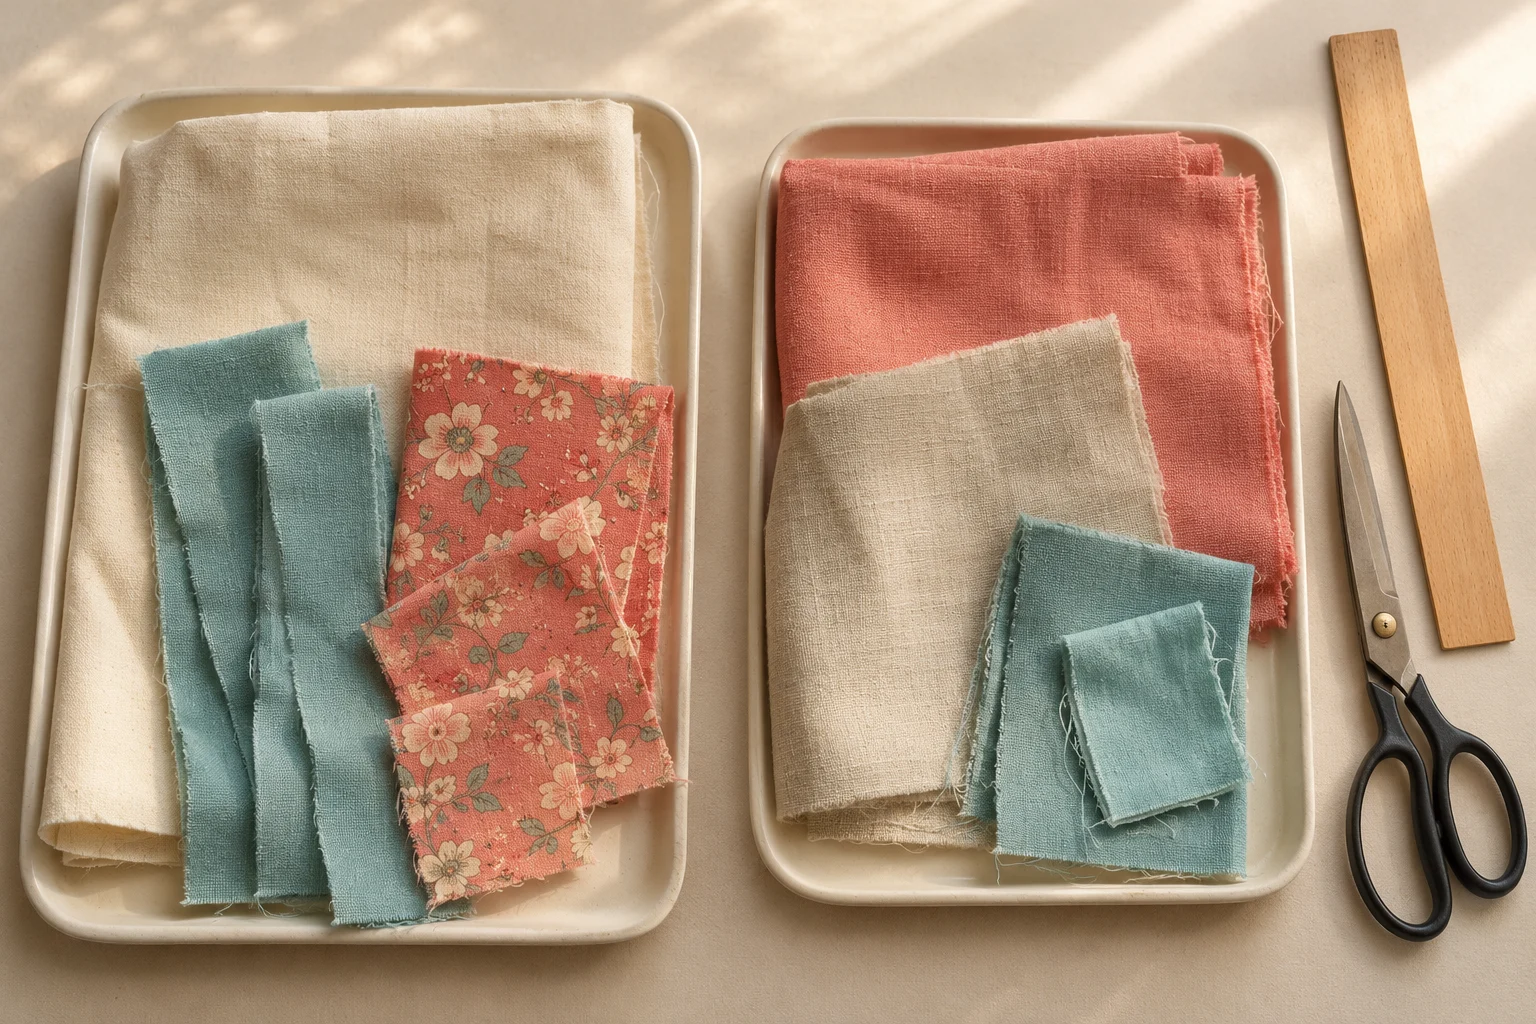
Start with a larger piece you like, then add a few compatible companions. For example, a cream woven cotton remnant, a turquoise strip, and a coral floral offcut might become the starting palette for a patchwork panel. You have chosen materials, not confirmed that they are sufficient for a particular finished item. Check your eventual instructions before cutting.
Compare the fabrics in daylight. Lay them beside one another and notice contrast as well as color: a busy floral may stand out more clearly next to a quieter solid. If you prefer a calmer result, repeat a limited color family instead of trying to include every attractive print.
Keep the bundle together with a removable clip or in a shallow tray. Add a short note with the intended use, known fiber content, and whether each fabric has been washed. If one key material is missing, write that down. An incomplete bundle should not become another unexplained pile.
5. Store scraps so you can see and retrieve them
Choose storage based on how you look for fabric. If you usually begin with a project type, keep compatible materials together. If you often begin with a palette, divide a single fabric group into a few broad color families. You do not need both systems at once.
Fold larger remnants so you can lift one out without unfolding the whole stack. Keep strips loosely bundled and small pieces in a shallow compartment rather than buried beneath yardage. A simple label such as “woven cotton strips” is more useful than a very detailed sorting code you will not remember.
Put away fabric clean and completely dry. Follow known care instructions before laundering or pressing, and keep information about unwashed or unidentified pieces visible. Choose a dry storage spot away from direct sunlight, and avoid packing a container so tightly that taking out one scrap becomes a chore.
For a small sewing space, try one everyday container plus one project tray. Store less-used specialty fabric elsewhere. This keeps the material for your next session within reach without turning your work surface into permanent storage.
6. Keep the system useful with a quick reset
At the end of a sewing session, return larger remnants, strips, and small usable pieces to their groups. Put uncertain pieces in the holding area and remove trimmings you have no realistic plan to use.
Before donating scraps, ask what the recipient accepts. A quilting group, classroom, or community project may need particular materials or sizes; an unsolicited mixed bag can create more sorting work. Textile collection programs also differ, so check local requirements rather than assuming every program accepts tiny offcuts.
Review the collection whenever it becomes difficult to use. If a category keeps overflowing, choose a project that uses it or reduce the amount you keep. There is no need to save every scrap to make thoughtful use of your fabric.
The best place to start: choose one fabric group, separate its larger pieces from strips and small offcuts, and assemble a single project bundle. A useful scrap collection is one that helps you make something—not one that requires more organizing than sewing.